
Run Linux on Windows

What is the Windows Subsystem for Linux?
The Windows Subsystem for Linux lets developers run a GNU/Linux environment — including most command-line tools, utilities, and applications — directly on Windows, unmodified, without the overhead of a traditional virtual machine or dualboot setup.
What you can do:
- Choose your favorite GNU/Linux distributions from the Microsoft Store.
- Run common command-line tools such as grep, sed, awk, or other ELF-64 binaries.
- Run Bash shell scripts and GNU/Linux command-line applications including:
- Tools: vim, emacs, tmux
- Languages: NodeJS, Javascript, Python, Ruby, C/C++, C# & F#, Rust, Go, etc.
- Services: SSHD, MySQL, Apache, lighttpd, MongoDB, PostgreSQL.
- Install additional software using your own GNU/Linux distribution package manager.
- Invoke Windows applications using a Unix-like command-line shell.
- Invoke GNU/Linux applications on Windows.
Why should you install Linux on your windows machine using WSL today?
Install WSL on Windows 10
A shortened guide has been created below. For the full manual installation steps, view the official Windows documentation HERE.
Step 1 – Enable the Windows Subsystem for Linux on your computer
PowerShell
dism.exe /online /enable-feature /featurename:Microsoft-Windows-Subsystem-Linux /all /norestart
Step 2 – Check Requirements & Update if needed
For WSL 2 to run on your machine, you must use a Windows version higher than 18362. If you need to update, use the Windows Update Assistant
Step 3 – Enable Virtual Machine features
PowerShell
dism.exe /online /enable-feature /featurename:VirtualMachinePlatform /all /norestart
Restart your machine.
Step 4 – Download the Linux kernel and update
Update package for Linux kernel
Run the update package after the file has downloaded.
Step 5 – Set WSL 2 as default
PowerShell
wsl --set-default-version 2
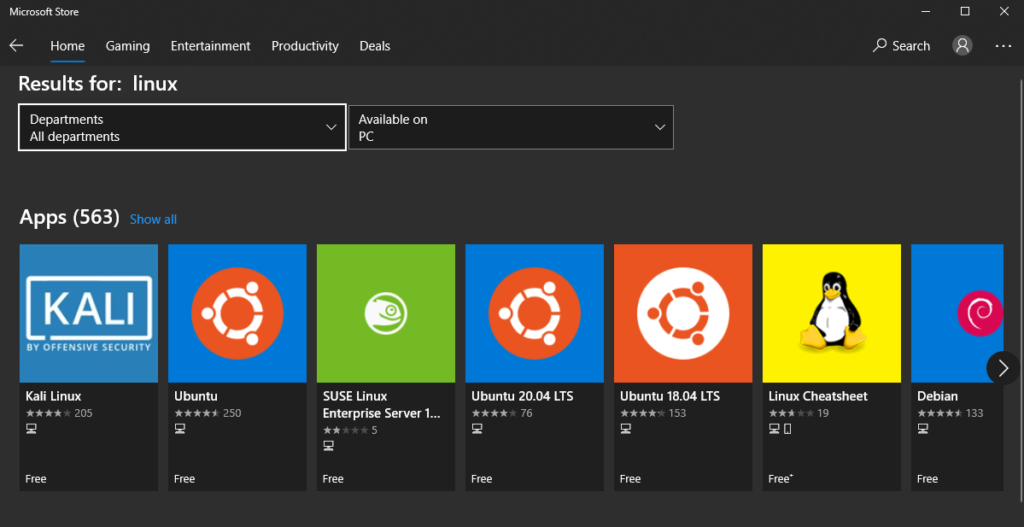
Step 6 – Install your Linux distribution
Open the Microsoft Store and select the distribution you would like to install. You can install more than one. Below, we will review how to install Ubuntu as well as Kali Linux. These guides will walk you through the install, upgrading and updating the kernel, and setting up a desktop GUI that can be accessed via the Microsoft Remote Access tool.
Installing Kali Linux
Why install Kali Linux?
- Learn and practice hacking
- Get started with learning Networking
- Learn to use python with the Linux CLI
Access Kali
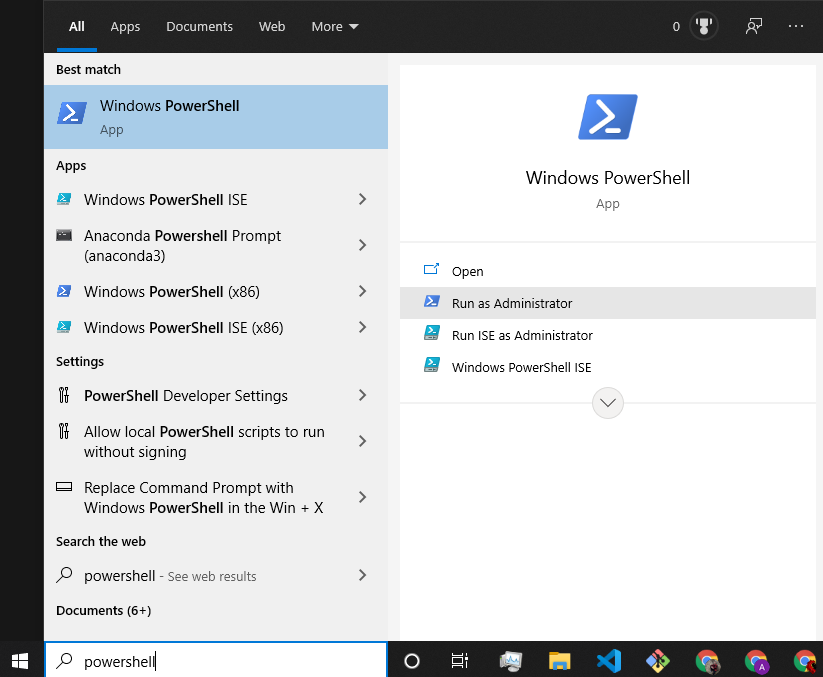
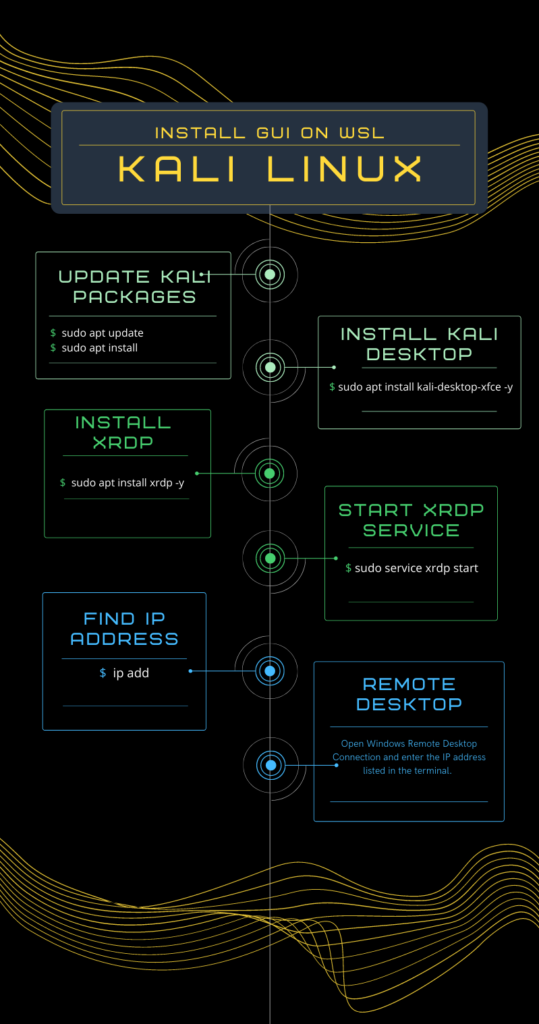
Open Windows search and type: Kali Linux. Open the application which will launch a Kali Linux Terminal window where you will be able to enter the following commands.
Remote Desktop Access
Open remote desktop and enter the IP Address found in the Kali terminal.
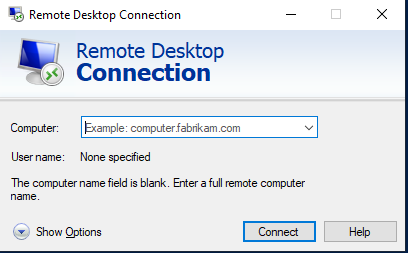
Enter IP Address and click on the Connect button.
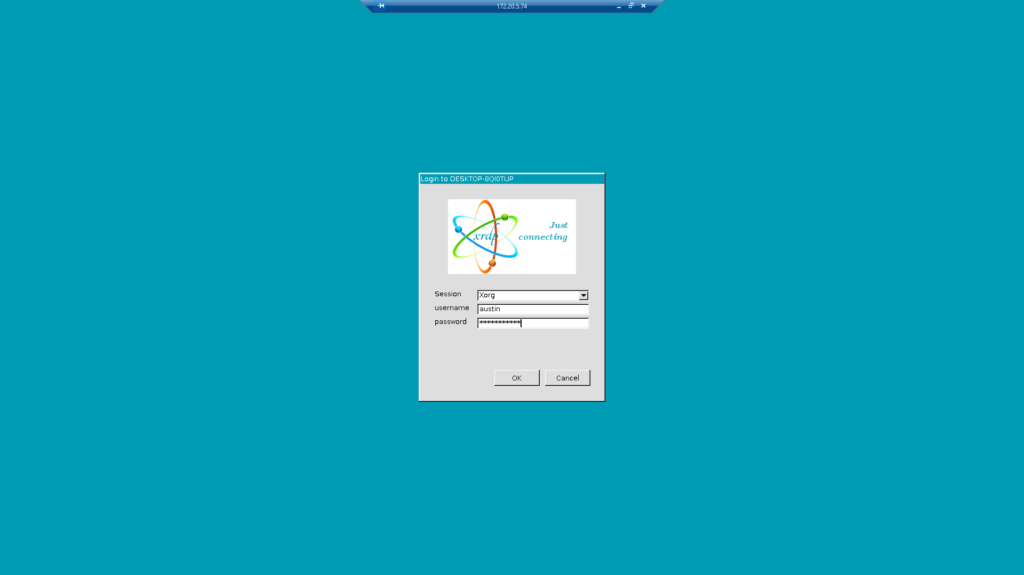
Enter your username and password and select OK.
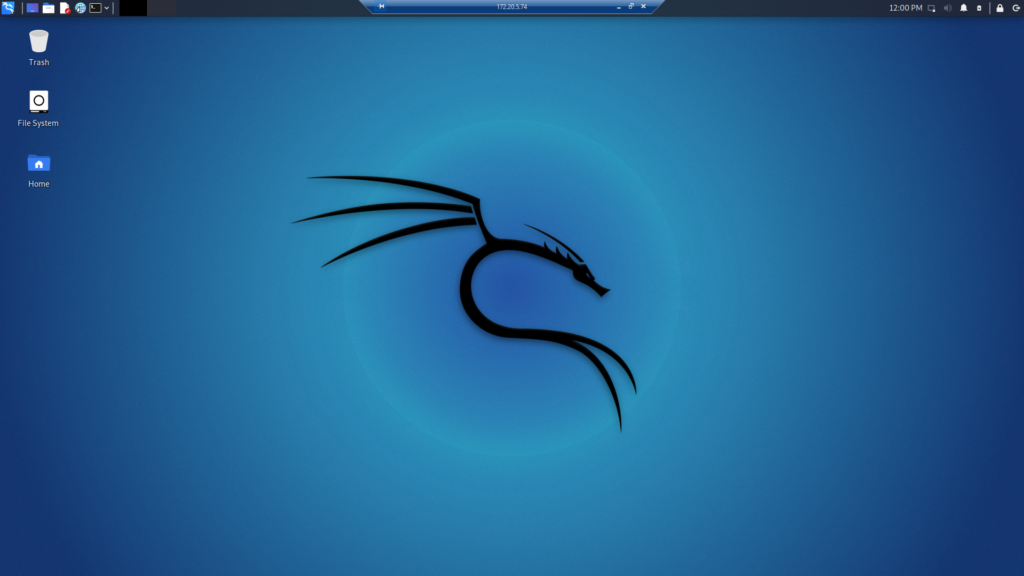
The Kali Linux GUI will now be displayed via Remote Desktop. Kali is now ready for use as if it were installed as the base operating system for your computer.
Special Thanks to Network Chuck who introduced me to Kali. His video guide is an excellent resource should you need more information or would like to see this done in action. Video Imbedded down below:
Installing Ubuntu
Why install Ubuntu?
- Beginner Friendly
- Great introduction to using the Linux CLI
- Perfect for creating coding environments
- Great for testing cross platform apps