
How to Build a Website with Django and Python (part one)

What is Django?
Django is a coding framework created atop the Python coding language. It is a tool for creating small to large applications or websites and is used as the backbone of Instagram, DropBox, Pinterest, YouTube, Spotify, The Washington Post, The Guardian, and Mozilla (to name a few).
Since Django is an open source web framework, it has been used to build a wide range of applications that require rapid development, pragmatic, maintainable, clean design, and security. Another great benefit of Django is the ability to model your domain and code classes which result in quickly developing an ORM.
For those interested in building websites with Python, Django is a great way to get started with web development for backend developers. It’s easy to get started and this tutorial will show you how to build a website, dashboard, and API using Django. We want to help you see the potential and possibilities that Django can offer in order to bring your project to life.
Getting Started:
No tutorial can cover everything without being long enough to serve as official documentation. The purpose of this tutorial is to show you how to create a website using Django as the backend framework. Part one will cover the basics and walk you through creating your first project and app. The subsequent parts will walk you through more advanced topics.
What we will cover in this course:
- Django File Structure
- Create Django Project and Applications
- Create an API with the Django REST Framework
- Django Admin Portal and Superuser Creation
- Authentication, Forms, and Permissions
- Blog, Shop, and User Accounts
- Dashboard with to-do application
- Templates, Static Files, and Dynamic Rendering
- Push Django website to Heroku for hosting
Download and install Python3 and create virtual environment:
Download and Install Python3 from Python.org
Create Virtual Environment
pip install virtualenv
python3 -m venv env
Activate virtual enviorment:
source env/bin/activate
Download and Install Python3 from Python.org
Make sure to add python to path during the installation process.
Create Virtual Environment
pip install virtualenv
python3 -m venv env
Activate virtual enviorment
source env/scripts/activate
On Ubuntu we can install everything from the CLI
sudo apt-get update
sudo apt-get install
sudo apt-get install python3
sudo apt-get install python3-pip
sudo pip3 install virtualenv
Create a python virtual enviorment:
virtualenv venv
Activate virutal enviroment
source venv/bin/activate
Regardless of which OS you are using, all virtual environments can be deactivated by entering deactivate into the CLI
Django File Structure
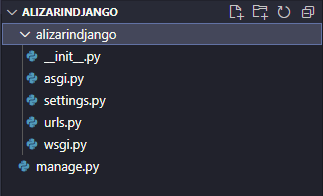
We will be creating a new project called alizarindjango. This name will serve as the folder name for the project and core application files. Since everything in Django is an application, the other aspects of our websites will be created in separate directories, within the core project folder. Here is an example of the file structure of a Django Project.
Create a Django Project
Open the accordion to view a screenshot of our terminal as an example of creating a Django project

Open your terminal or CLI of choice and navigate into the directory where you want your project to live. Our project will live in the documents folder.
$ mkdir djangoProject
$ cd djangoProject
$ python3 -m venv env
$ source env/scripts/activate
// linux or mac use:
$ source env/bin/activate

(env) $ pip install django
Once Django has been installed, install the following packages which will be used as we build out the application and website:
(env) $ pip install djangorestframework
(env) $ pip install requests
(env) $ pip install pillow
After everything has been installed, start your django application with the following:
(env) $ django-admin startproject alizarindjango
(env) $ cd alizarindjango
You should be in the project directory $ documents/djangoProject/alizarindjango/
(env) $ ls  // will show you the files and directories in your current directory
(env) $ pwd // will show you your current file directory
Once you are in the alizarindjango (or django project directory) run the following:
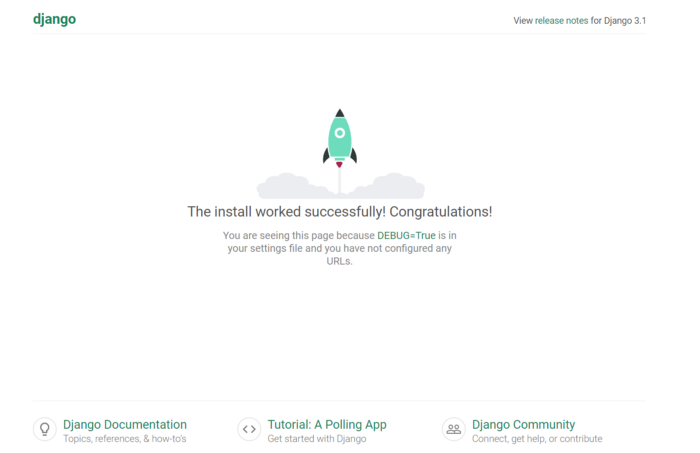
(env) $ python manage.py runserver
If everything has started correctly, your localhost should display the following default webpage:
Create Django Superuser
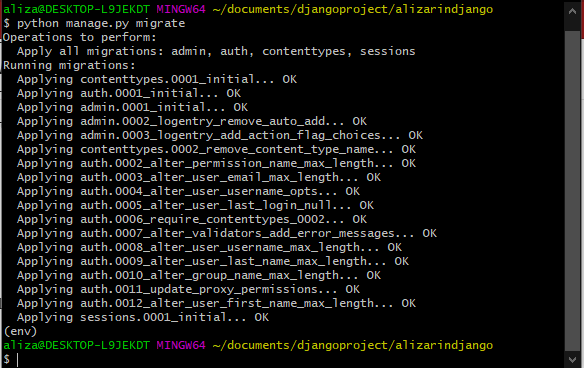
Before moving forward, let’s set up your admin credentials (superuser) for the website. In order to set up your Superuser, we need to migrate our new Django project files into our default database. Once these files have been migrated, you will be able to set your username and password for the Django Admin.
(env) $ python manage.py migrate  // this will migrate the data into our database
(env) $ python manage.py createsuperuser
Username: admin
Email address: enteremail@address.com
Password: ********
Password (again): *******   // you will not see the password displayed.
Start up the development server to test your application:
(env) $ python manage.py runserver
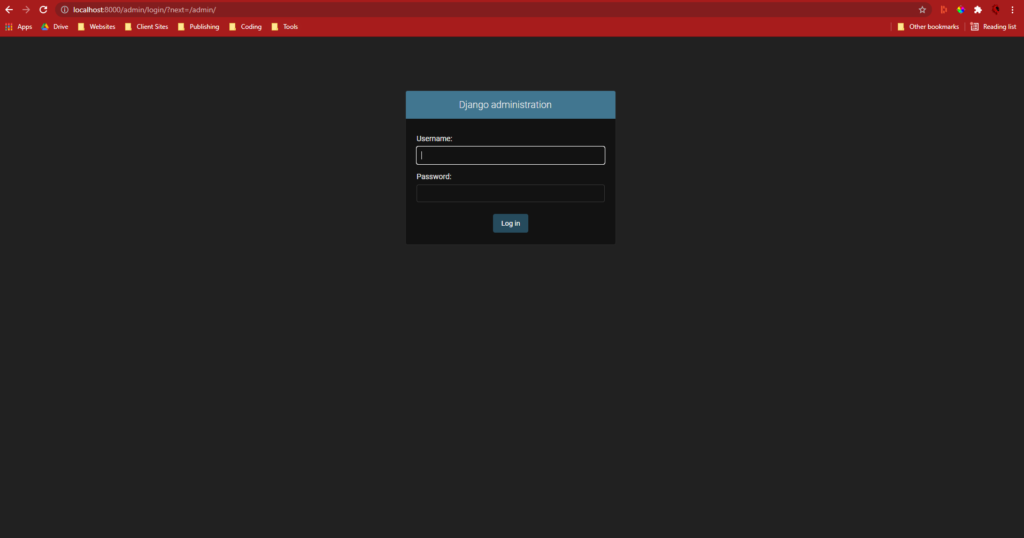
With the server running, navigate to the admin page and login.
localhost:8000/admin
Enter the Username and Password you created and you will see the following screen:
Create New Django App
Again, everything in Django is an application. This lets you reuse code in future projects as well as maintain clear separation between different aspects of your website. We will be creating three applications for this project. An API, Dashboard, and Website. We will create all three apps at the same time, but add them to the project one at a time.
(env) $ python manage.py startapp website
We will run the same command for the other two apps:
(env) $ python manage.py startapp API
(env) $ python manage.py startapp dashboard
There isn’t a limit to the amount of apps that can be created, but there is a balance that should be considered since it can be easy to bloat your project with unnecessary apps.
Now that the app is created, we need to update the files. Below is an image of the current file structure within our Django project. You will see new directories will have been created for our website, API, and dashboard apps.

Updating the Project to include the website app
Update alizarindjango/urls.py
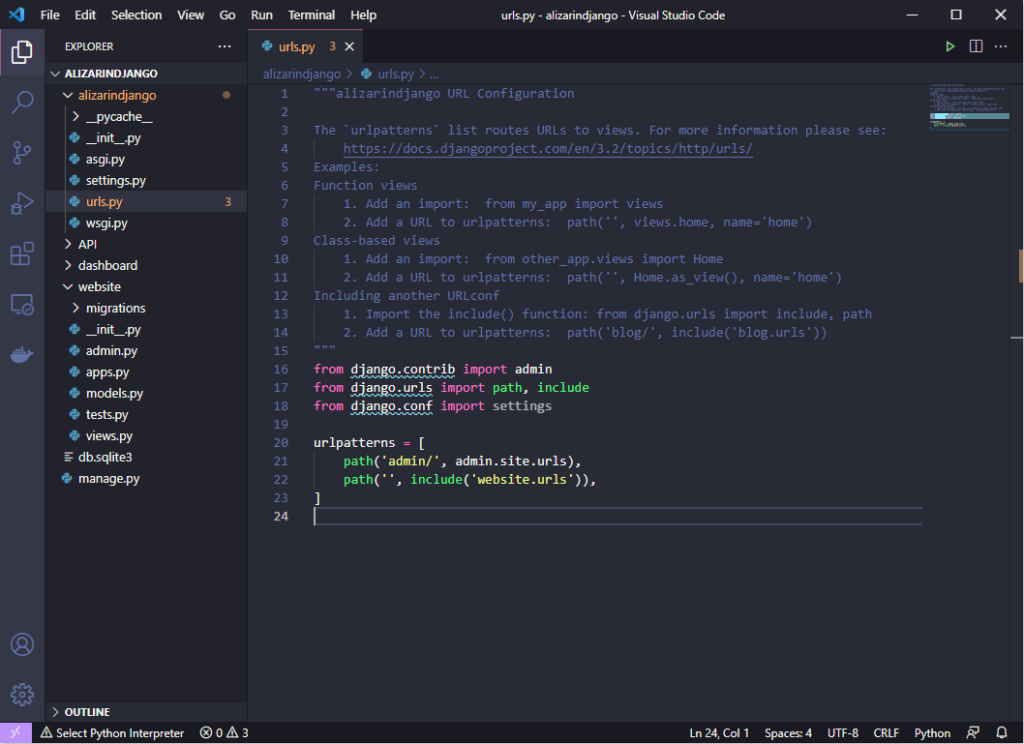
from django.contrib import admin
from django.urls import path, include
from django.conf import settings

urlpatterns = [
    path('admin/', admin.site.urls),
    path('', include('website.urls')),
]
Update alizarindjango/settings.py
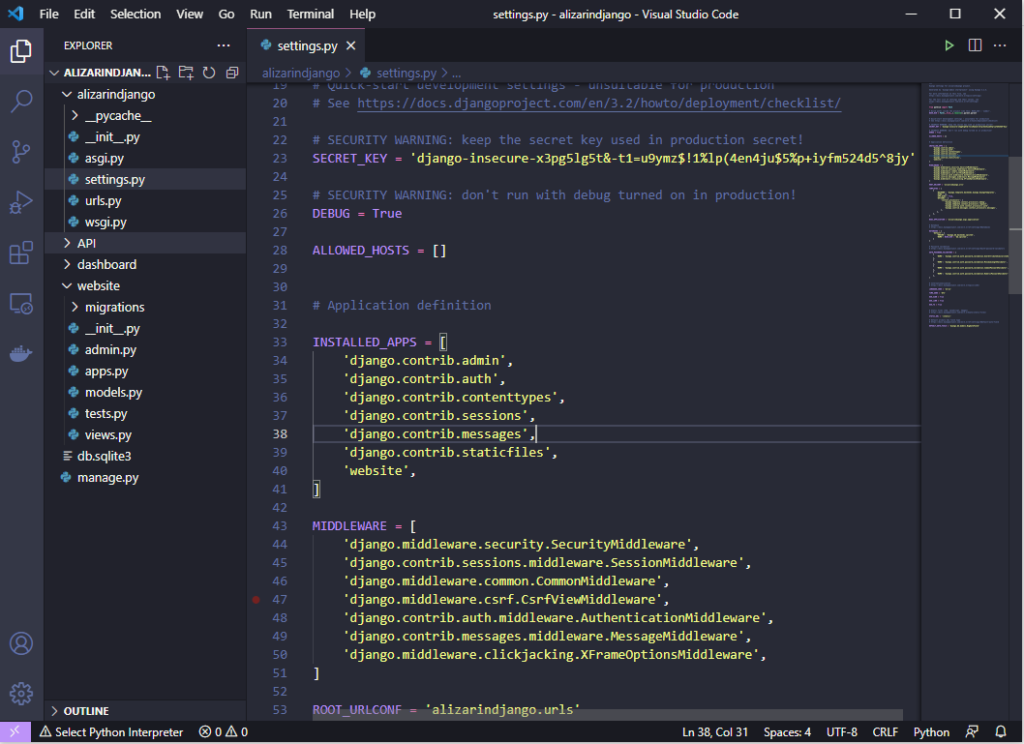
INSTALLED_APPS = [
    'django.contrib.admin',
    'django.contrib.auth',
    'django.contrib.contenttypes',
    'django.contrib.sessions',
    'django.contrib.messages',
    'django.contrib.staticfiles',
    'website',
]
Navigate to your website folder and create a new directory called templates. Inside your templates directory, create two files, base.html and index.html so we can begin creating our webpages.
Insert the following bootstrap4 code into each html file, and save. (Bootstrap4 Source)
<!doctype html>
<html lang="en">
  <head>
    <!-- Required meta tags -->
    <meta charset="utf-8">
    <meta name="viewport" content="width=device-width, initial-scale=1">

    <!-- Bootstrap CSS -->
    <link href="https://cdn.jsdelivr.net/npm/bootstrap@5.0.2/dist/css/bootstrap.min.css" rel="stylesheet" integrity="sha384-EVSTQN3/azprG1Anm3QDgpJLIm9Nao0Yz1ztcQTwFspd3yD65VohhpuuCOmLASjC" crossorigin="anonymous">

    <title>Hello, world!</title>
  </head>
  <body>
    <h1>Hello, world!</h1>

    <!-- Optional JavaScript; choose one of the two! -->

    <!-- Option 1: Bootstrap Bundle with Popper -->
    <script src="https://cdn.jsdelivr.net/npm/bootstrap@5.0.2/dist/js/bootstrap.bundle.min.js" integrity="sha384-MrcW6ZMFYlzcLA8Nl+NtUVF0sA7MsXsP1UyJoMp4YLEuNSfAP+JcXn/tWtIaxVXM" crossorigin="anonymous"></script>

    <!-- Option 2: Separate Popper and Bootstrap JS -->
    <!--
    <script src="https://cdn.jsdelivr.net/npm/@popperjs/core@2.9.2/dist/umd/popper.min.js" integrity="sha384-IQsoLXl5PILFhosVNubq5LC7Qb9DXgDA9i+tQ8Zj3iwWAwPtgFTxbJ8NT4GN1R8p" crossorigin="anonymous"></script>
    <script src="https://cdn.jsdelivr.net/npm/bootstrap@5.0.2/dist/js/bootstrap.min.js" integrity="sha384-cVKIPhGWiC2Al4u+LWgxfKTRIcfu0JTxR+EQDz/bgldoEyl4H0zUF0QKbrJ0EcQF" crossorigin="anonymous"></script>
    -->
  </body>
</html>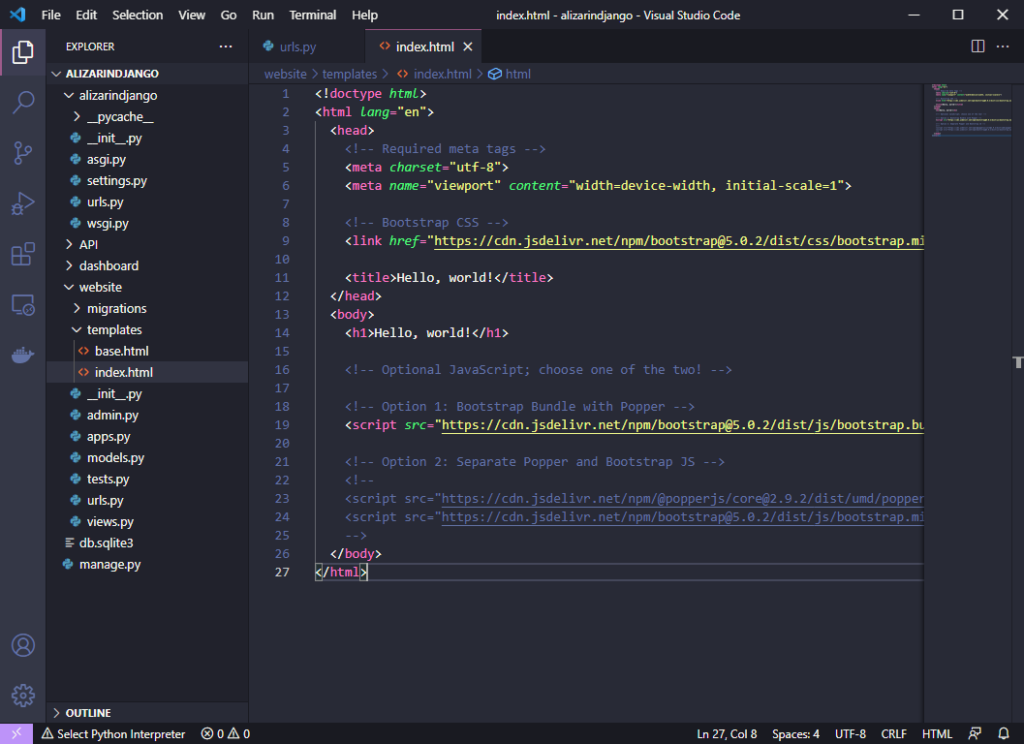
Add first function to website/views.py

from django.shortcuts import render

# Create your views here.
def index(request):
    return render(request, 'index.html', {})
Create a new file in your website/ folder called urls.py then register the path:
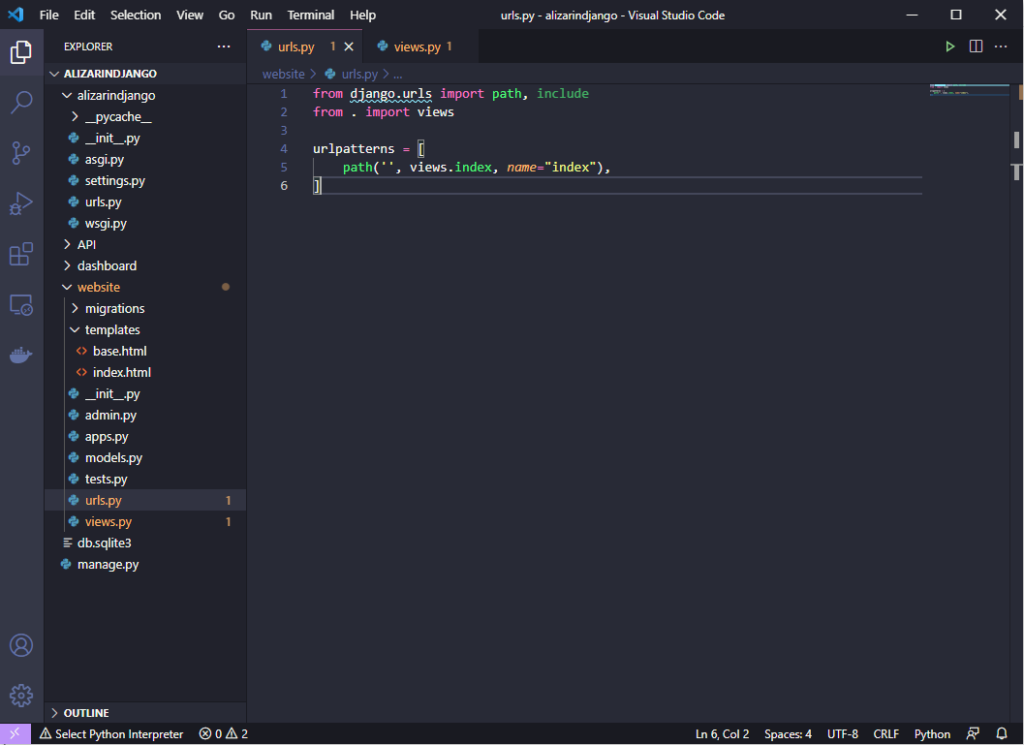
from django.urls import path, include
from . import views

urlpatterns = [
    path('', views.index, name="index"),
]
Verify that your application has been added to the project and that your website is now displaying the contents of index.html
python manage.py runserver
Congratulations, your app is working!
Now that you have started a Django project, created several apps, and updated your settings.py and urls.py files to display your index.html file, you are ready to start diving into the fun aspects of Django development.
In part two, we will update the settings.py and urls.py to include the dashboard and API apps. Once the new apps have been added to the project, we will begin creating the following:
- Create API models, serializers, and views
- Integrate API model into the database
- Add model to the Admin
- Create a user authentication system
- Create a dashboard
- Set login permissions and automatic login routing
- Create user password change and update forms
In subsequent parts of this series, we will build the following:
- Blog
- Shop with STRIPE payment integration
- To-Do application inside dashboard
Get started with part two!
Download project files from github!